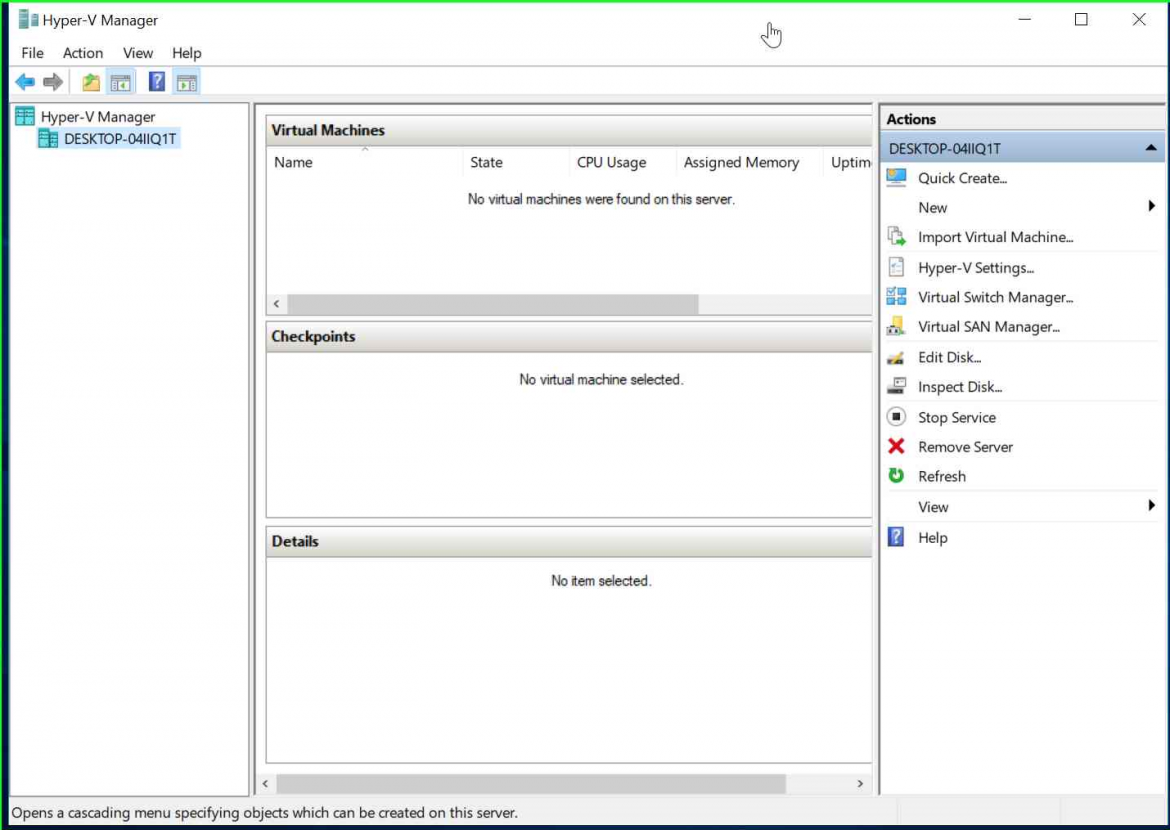
Enabling Hyper-V in Windows 10
Hyper-V is Microsoft’s Hypervisor and allows us to virtualize our hardware to create Virtual Machines on our devices. Virtualisation can take place not only on Servers but also client machines such as Laptops and Desktops, so long as they support virtualisation.
Virtualization of Server based resources has become the norm in IT and therefor Creating Virtual Machines (also known as ‘VMs’) has become an essential. Virtualisation helps us utilize our resources further by enabling multiple guest operating systems to run on a single host. Virtualisation also allows for segregation of the guest operating systems to give a sandboxed environments in which to test different applications and configurations without effecting the host system. One of the key benefits that i use virtualisation for, is being able to run Linux based machines within a Windows machine, this negates having to mess around with partitions and dual booting as well as having seperate machines for seperate operating systems. I can simply boot the Linux operating system in Hyper-V and begin my testing!
For the purposes of this guide, we will be installing Hyper-V on a Windows 10 client machine, while Hyper-V is avalible on Servers the installation for servers differs slightly.
Before we begin, there are a few prerequisites to be aware of for Hyper-V to function on Windows 10:
- Windows 10 Professional or Enterprise
- 64Bit Processor
- BIOS supported Virtualization (You may need to enable this in your BIOS settings)
- Enough resources to support the Virtual Machines you are building
In order to verify that your system supports Hyper-V you can check using ‘SystemInfo’ in CMD or PowerShell:
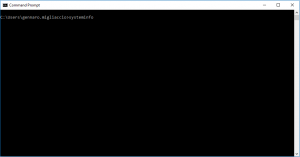
Type in ‘systeminfo’ (All one word) into your CMD or PowerShell window. And scroll to the bottom.
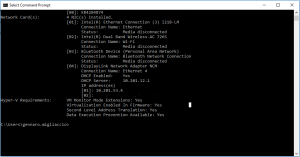
At the bottom of the CMD output you should see the ‘Hyper-V Requirements’, if all listed Hyper-V requirements are marked as Yes then your system can run the Hyper-V role.
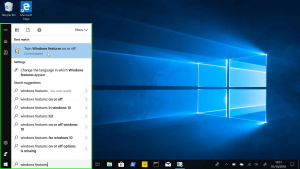
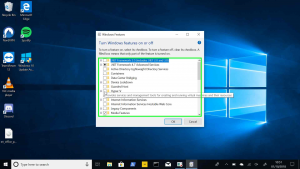
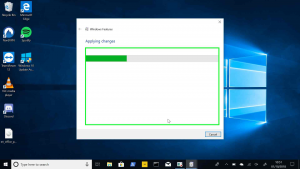
In order to enable Hyper-V you can follow the steps below:
Enable-WindowsOptionalFeature -Online -FeatureName Microsoft-Hyper-V -All
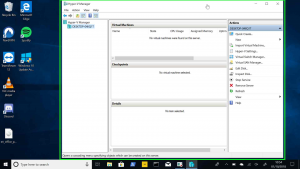
As a thought, you should extend this post to include the creation of a Virtual Machine and the Virtual Switch.
Thanks JDX, will add to the list and will post something hopefully soon!